Overview
Cloud Storage allows world-wide storage and retrieval of any amount of data at any time. You can use Cloud Storage for a range of scenarios including serving website content, storing data for archival and disaster recovery, or distributing large data objects to users via direct download.
In this hands-on lab you will learn how to create a storage bucket, upload objects to it, create folders and subfolders in it, and make objects publicly accessible using the Google Cloud command line.
Throughout this lab you'll be able to verify your work in the Console by going to Navigation menu > Cloud Storage. You'll just need to refresh your browser after each command is run to see the new items you've created.
Setup and Requirements
Before you click the Start Lab button
Read these instructions. Labs are timed and you cannot pause them. The timer, which starts when you click Start Lab, shows how long Google Cloud resources will be made available to you.
This hands-on lab lets you do the lab activities yourself in a real cloud environment, not in a simulation or demo environment. It does so by giving you new, temporary credentials that you use to sign in and access Google Cloud for the duration of the lab.
What you need
To complete this lab, you need:
- Access to a standard internet browser (Chrome browser recommended).
- Time to complete the lab.
Note: If you already have your own personal Google Cloud account or project, do not use it for this lab.
Note: If you are using a Chrome OS device, open an Incognito window to run this lab.
How to start your lab and sign in to the Google Cloud Console
Click the Start Lab button. If you need to pay for the lab, a pop-up opens for you to select your payment method. On the left is a panel populated with the temporary credentials that you must use for this lab.
Copy the username, and then click Open Google Console. The lab spins up resources, and then opens another tab that shows the Sign in page.
Tip: Open the tabs in separate windows, side-by-side.
In the Sign in page, paste the username that you copied from the left panel. Then copy and paste the password.
Important: You must use the credentials from the left panel. Do not use your Google Cloud Training credentials. If you have your own Google Cloud account, do not use it for this lab (avoids incurring charges).
Click through the subsequent pages:
- Accept the terms and conditions.
- Do not add recovery options or two-factor authentication (because this is a temporary account).
- Do not sign up for free trials.


After a few moments, the Cloud Console opens in this tab.
Activate Cloud Shell
Cloud Shell is a virtual machine that is loaded with development tools. It offers a persistent 5GB home directory and runs on the Google Cloud. Cloud Shell provides command-line access to your Google Cloud resources.
In the Cloud Console, in the top right toolbar, click the Activate Cloud Shell button.

Click Continue.

It takes a few moments to provision and connect to the environment. When you are connected, you are already authenticated, and the project is set to your PROJECT_ID. For example:

gcloud is the command-line tool for Google Cloud. It comes pre-installed on Cloud Shell and supports tab-completion.
You can list the active account name with this command:
(Output)
(Example output)
You can list the project ID with this command:
(Output)
(Example output)
Create a bucket
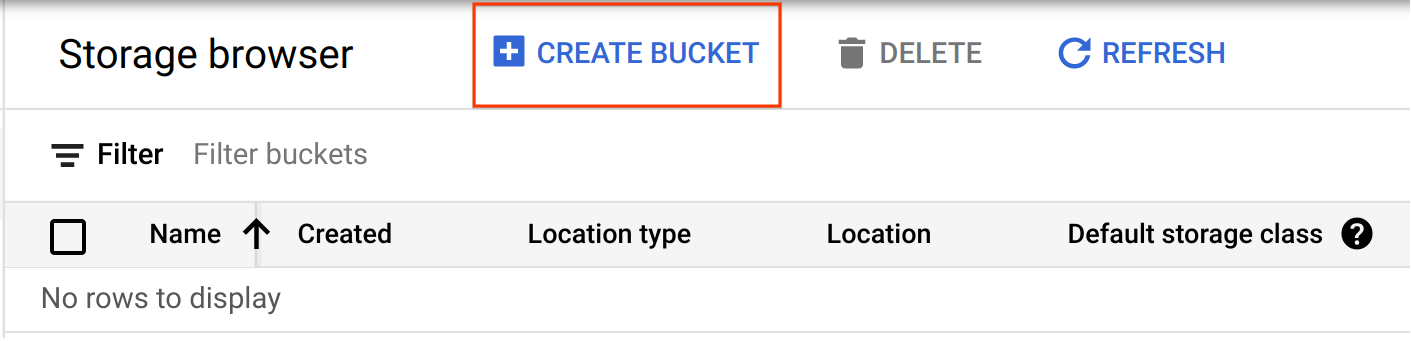
In the Cloud Console, go to Navigation menu > Cloud Storage > Browser. Click CREATE BUCKET:
Name your bucket: Enter a unique name for your bucket.
Bucket naming rules:
- Do not include sensitive information in the bucket name, because the bucket namespace is global and publicly visible.
- Bucket names must contain only lowercase letters, numbers, dashes (-), underscores (_), and dots (.). Names containing dots require verification.
- Bucket names must start and end with a number or letter.
- Bucket names must contain 3 to 63 characters. Names containing dots can contain up to 222 characters, but each dot-separated component can be no longer than 63 characters.
- Bucket names cannot be represented as an IP address in dotted-decimal notation (for example, 192.168.5.4).
- Bucket names cannot begin with the "goog" prefix.
- Bucket names cannot contain "google" or close misspellings of "google".
- Also, for DNS compliance and future compatibility, you should not use underscores (_) or have a period adjacent to another period or dash. For example, ".." or "-." or ".-" are not valid in DNS names.
Click CONTINUE.
Location type: Multi-region
Location: us (multiple regions in United States)
Click CONTINUE.
Default Storage class: Standard
Click CONTINUE.
Uncheck Enforce public access prevention on this bucket checkbox under Prevent public access.
Choose Fine-grained under Access Control.
Click CONTINUE.
Once you've gotten your bucket configured, click CREATE:
That's it — you've just created a Cloud Storage bucket!
Test Completed Task
Click Check my progress to verify your performed task. If you successfully created Cloud Storage bucket, you will see an assessment score.
No comments:
Post a Comment